Authentication
Introduction
NSDK is now providing a token-based authentication system as an alternative to the API-key based system. All existing endpoints are still supported, but the API-key is no longer required. Some new features will only be available under the new authentication system.
Enabling The Login Flow
Token-based authentication is currently hidden behind a script compilation flag NIANTIC_ARDK_AUTH_LOGIN.
Add NIANTIC_ARDK_AUTH_LOGIN under Scripting Define Symbols in Project Settings → Player.
- Open the Project Settings window
- Select Player and then Other Settings
- In Player, select target platform
- Under the platform settings, select Scripting Define Symbols
- Enter
NIANTIC_ARDK_AUTH_LOGIN - Hit Apply
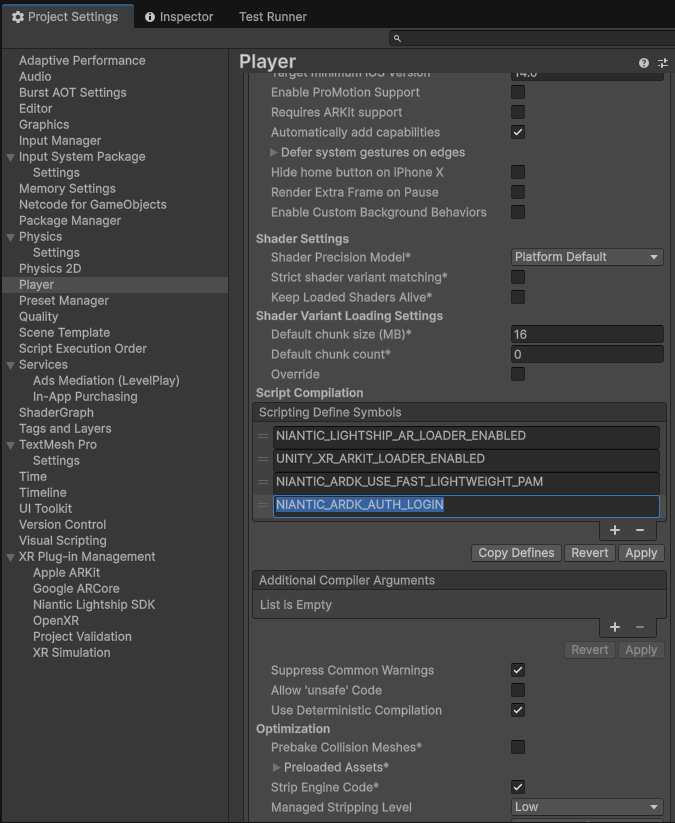
Note: This should be repeated for each platform you are targeting.
Login
The login button is part of Lightship SDK Settings.
Steps:
- Enter Project Settings → Niantic Lightship SDK Page (see screenshot)
- Select Login (this will open "Sign In" page in the browser)
- Sign in with Google SSO. Success will show: i. "Login Successful" in the browser. ii. "Logout" replaces the "Login" button in Unity's Project Settings
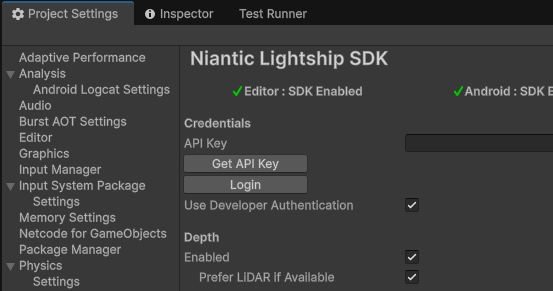
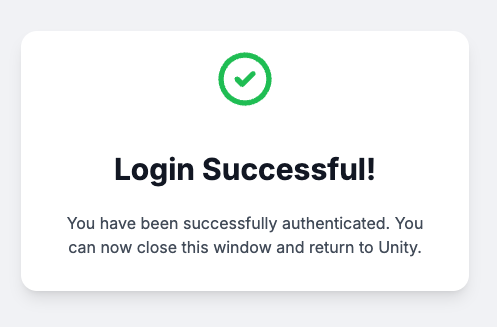
Note: API key is no longer required. If you're using token-base authentication, it should not be set.
Advanced Knowledge/Troubleshooting
Working Files
In Unity, the files that track the auth tokens are located outside of the project folder.
On MacOs, they are located at: /Users/<username>/.ardkSettings/<project ID>
On Windows, they are located at: C:\ProgramData\<project ID>
The project ID is a unique hash representing the project. There are two files:
authEditorSettings.json and authEditorBuildSettings.json. These contain the current auth tokens. If you encounter problems that can’t be resolved by other means, it may help to delete these.
There is also an asset file generated (in the assets folder): XR/Settings/AuthBuildSettings.asset. This contains the auth tokens that are used at runtime (it should normally be empty of tokens, outside of play-mode or building for-device).
Additional scripting symbols
NIANTIC_ARDK_AUTH_DEBUG can also be set. It provides additional logging and a more verbose settings page.
The Enterprise Auth Sample
This sample demonstrates how to use the new authentication system in an enterprise environment. It is a Unity project that connects to a sample backend server that handles authentication. There is a separate authentication flow that handles login via a web frontend, which is then redirected to the client so that the client can run a sample user session. This user session requests a Niantic Spatial access token from the backend server, and this access token can then be used to authenticate with any Spatial API endpoint.
Running the sample project via the Enterprise Auth Flow
1. Install and setup the sample project
See Sample Projects for installation and setup of the sample project in Unity.
2. Configure the sample project to enable the Enterprise Auth Flow
- Set the scripting symbol
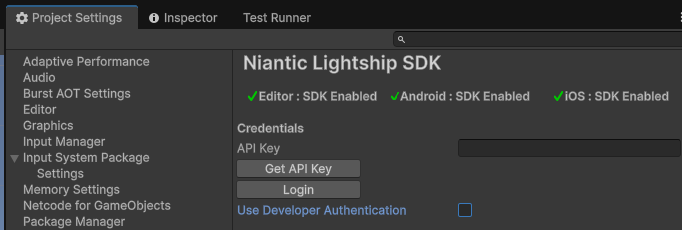
NIANTIC_ARDK_AUTH_LOGINin the Unity project settings. See Enable the Login Flow for details. - In the Lightship Settings, set 'Use developer authentication' to false (do not login or set an API key):
3. Build and run the sample project on iOS or Android
- Build the sample project in Unity for iOS or Android.
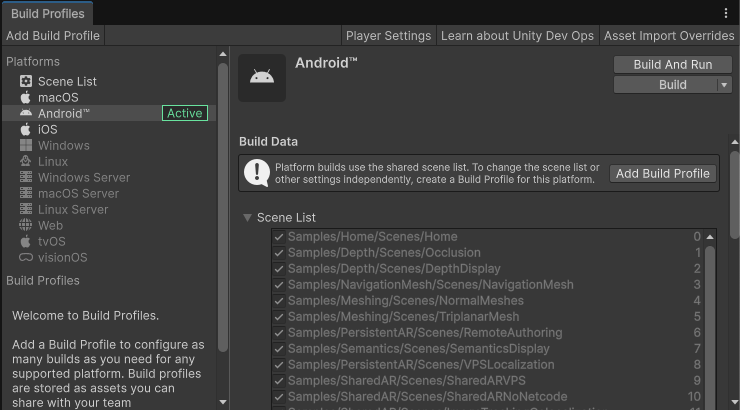
- Install and run the sample project on-device.
4. Login to the sample project via the Enterprise Auth Flow
- Open the sample project on-device.
- Scroll down to 'Login/Authentication' (bottom of the list) and tap to enter:
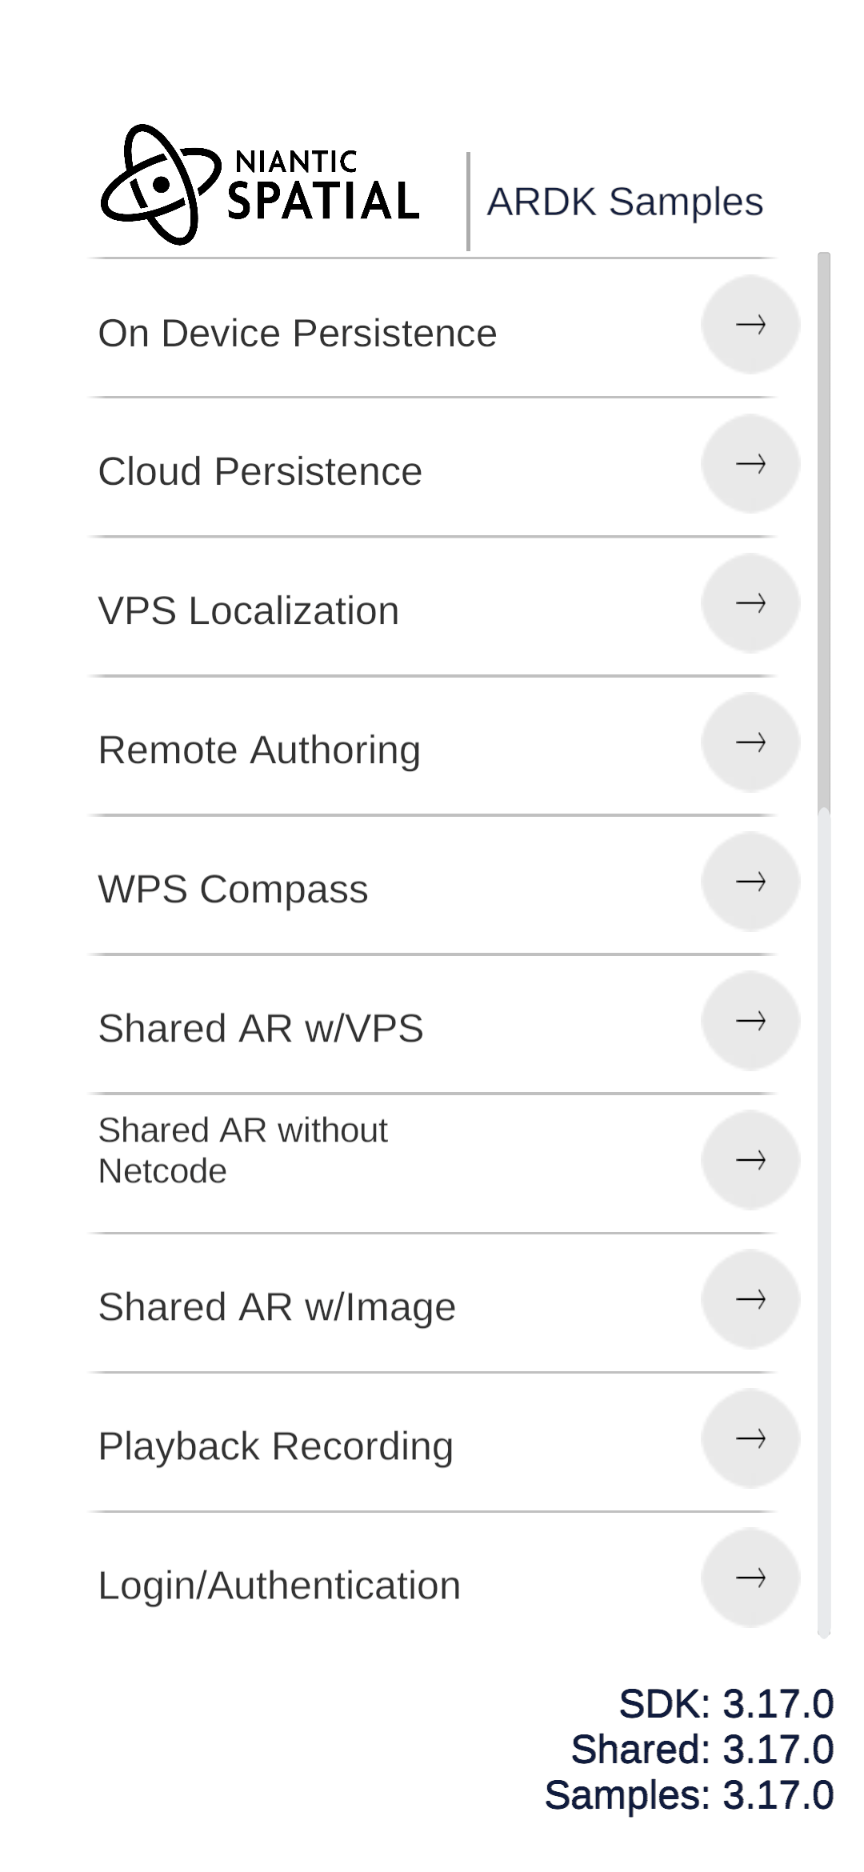
- Tap the 'Login' button to begin the login flow.
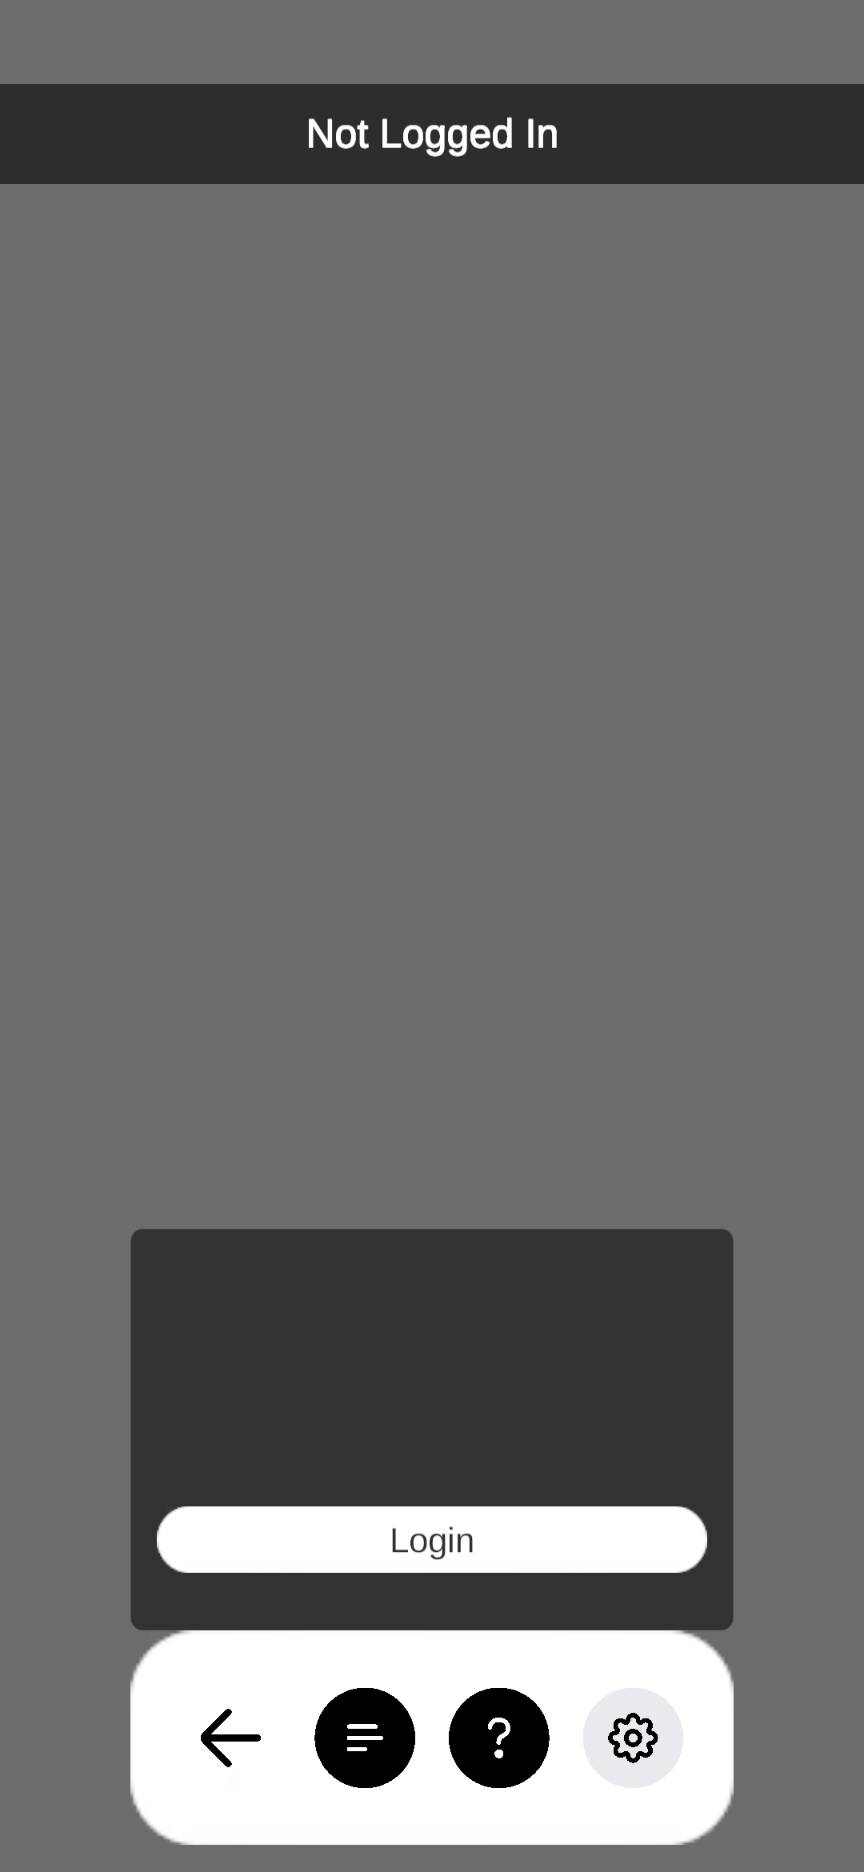
This will open a browser window to a frontend login page. Sign-in with Google SSO.
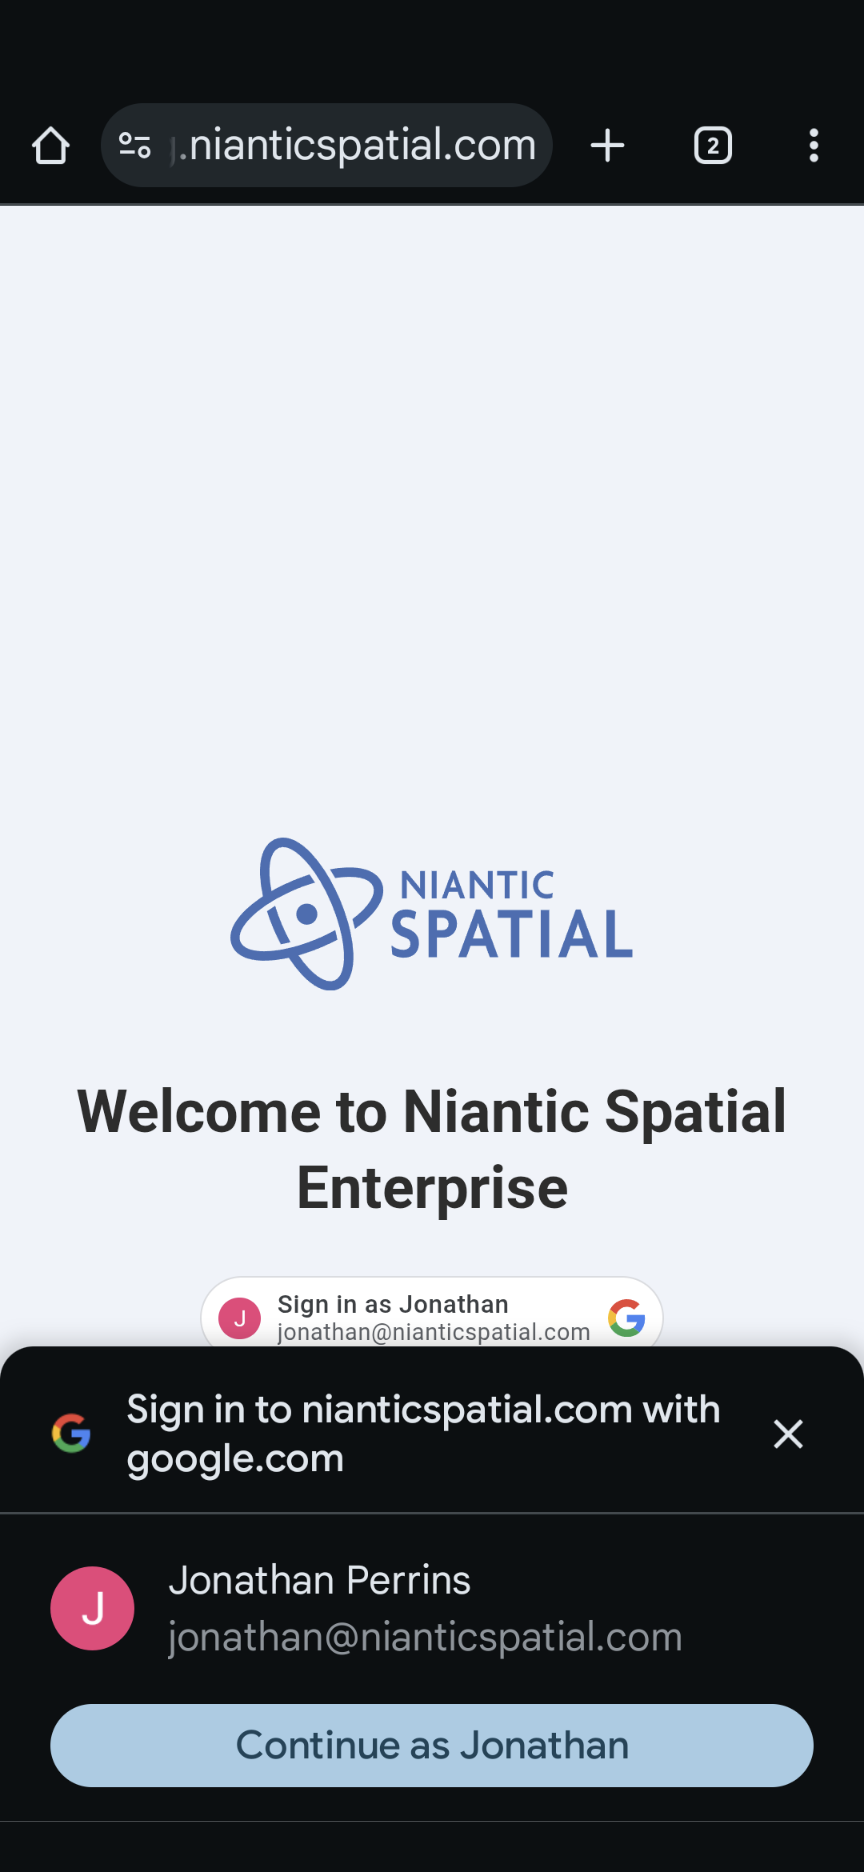
- After successful login, return to the sample project app
You should now be able to run any of the samples that depend on Spatial API endpoints. Any errors will show up in the log window on the 'Login/Authentication' page.